
Backcountry skiers think they have it all. Unfortunately, they’re usually right. The solution to the problems splitboarders face quite often is “Learn how to ski.”
Not in this case. Using mountaineering boots on a split-board is effective and significantly expands the possibilities of splitboard mountaineering.
This is valuable when approaching a technical climb, an objective that requires a lot of step-kicking or cramponing, or any other objective where you’d prefer mountaineering boots.
Let’s say you’re in the Northwest and aiming to climb Mt. Hood via one of the many technical routes: Devil’s Kitchen Headwall for example. With a splitboard, you can skin up the 4,500′ to Devil’s Kitchen in ice or mountaineering boots and stash your board. Then, you can ice climb with the superior boot for the job. When you return, you have a 4,500-foot ride back to your car — all in the same pair of boots!
Let’s say you’re in Colorado and attempting a 14er winter ascent. That often involves deep snow below treeline; and wind-blasted snow, ice, scree and rocks above treeline. You can approach in the deep snow with a splitboard rather than snowshoes. Then, you can climb in mountaineering boots, and then reverse the approach with a downhill ride instead of a deep snow slog. The possibilities are endless.
It’s important to acknowledge that using AT boots on a splitboard provides this ability as well. More people do that than this. This article covers solely the mountaineering boot possibilities. After all, mountaineering boots are more versatile for non-riding use and don’t require a new binding. If you have both, you might even prefer mountaineering boots over AT boots in many situations.
I’m exploring and progressing myself through this idea. I have outlined my findings so far below and will update this article as I continue to use this method for bigger and harder objectives.
Summary
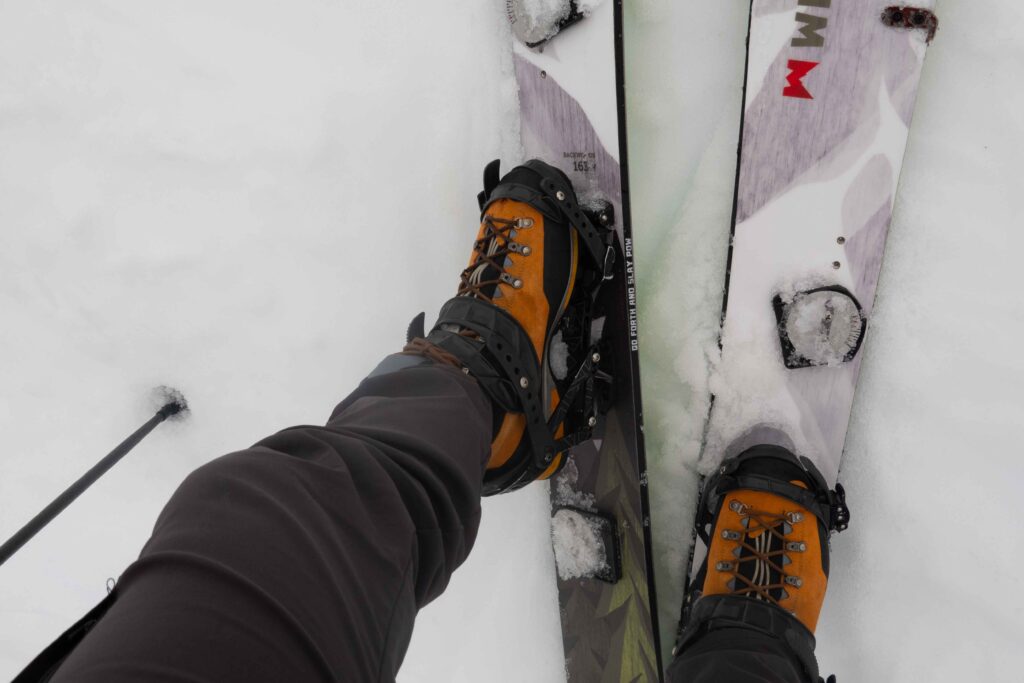
1: Skinning isn’t as comfortable, but you still have plenty of edge control. Sometimes even more with the full-shank rigid sole. Wrapping a ski strap around your high-back and ankle stiffens it up if necessary.
2: Downhill performance is decent when using a ski strap through the high-backs and around your ankle. The ski strap is mandatory, otherwise, your toe edge is useless. Though performance is decent, the downhill ride is uncomfortable and fatiguing on your feet.
3: The bulkier the mountaineering boot, the closer the feeling is to regular snowboard boots.
Uphill
The first thing you need to do is adjust your binding to your mountaineering boot. Once it’s adjusted with a decent fit, it’s time to head uphill.
While skinning, the binding ankle strap causes some discomfort. You can reduce this with perfect skinning technique. When skinning, instead of pushing your rear foot forward with your rear leg’s hip flexors and abs; it’s best to be pulling your rear foot up with your uphill leg’s glutes, hamstrings and quadriceps. It is unforgiving on your technique, but once mastered, it becomes as efficient as proper boots.
With side-hilling, the lack of lateral stability is a minus, but the precise and rigid sole is a plus. I’ve found that the side-hills are different, but not worse one way or the other. It requires different techniques which need to be acquired through practice and progression. Splitboard boots don’t have much lateral stability to start with anyway. You could also wrap a ski strap through your high-backs and around your ankle for more stability.
Downhill
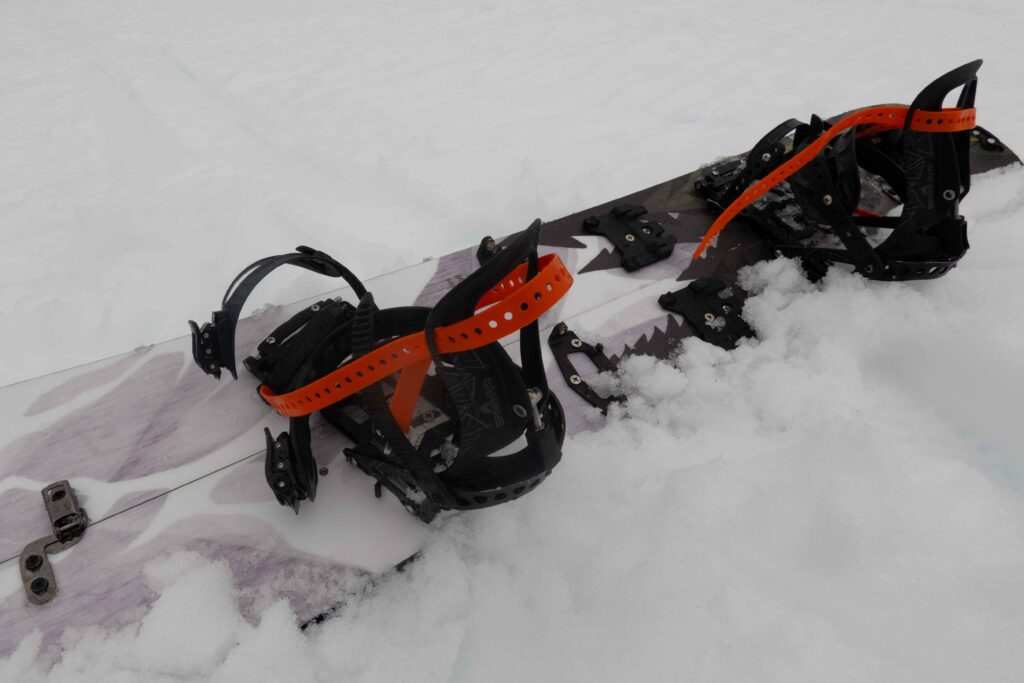
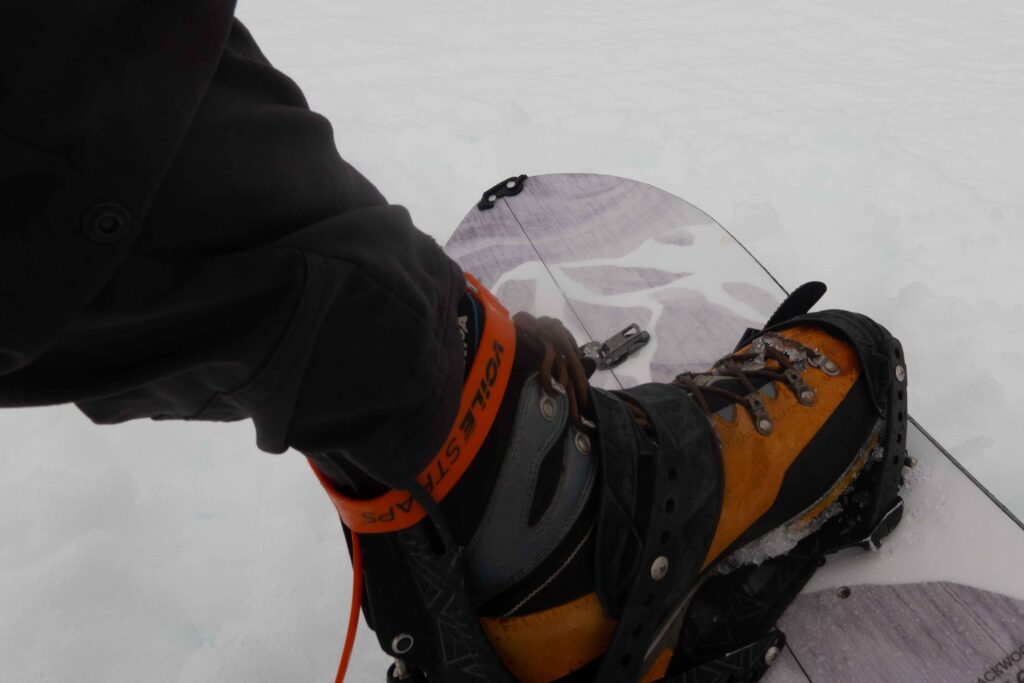
When going downhill, it is necessary to stiffen up the ankle if you want a usable toe-edge. Threading a ski strap through your high-backs and around the top of your ankle makes all the difference. I’ve found this more responsive than my splitboard boots in fact.
The downhill feels different than the typical ride with your snowboard boots. It requires practice and progression to get good at this. I have found that performance doesn’t suffer on moderate terrain. Where I am right now, however, I wouldn’t want to descend something incredibly steep or icy with mountaineering boots. But I’m sure as I keep progressing, I’ll be able to do so with comfort.
One drawback is that your foot gets fatigued and uncomfortable during the descent. A lot more pressure and force is put on the boot and binding interface. Uncomfortable and fatigued feet however are infinitely preferred to the alternative of walking downhill.
Final Thoughts
It’s important to emphasize that you wouldn’t want to do this without a good reason. Using the proper boot for the job is more comfortable and fun. But when the situation requires mountaineering boots, then this becomes a great option to avoid the nightmare of having to walk downhill.
The photos above show using a single-leather boot, which is the furthest feeling you can get from snowboard boots. With my double boots, Scarpa Phantom 6000s, the feeling is closer. With bulky double boots — such as Koflachs, Scarpa Invernos, La Sportiva Baruntses and Spantiks – I’d imagine the feeling to be much closer to snowboard boots.