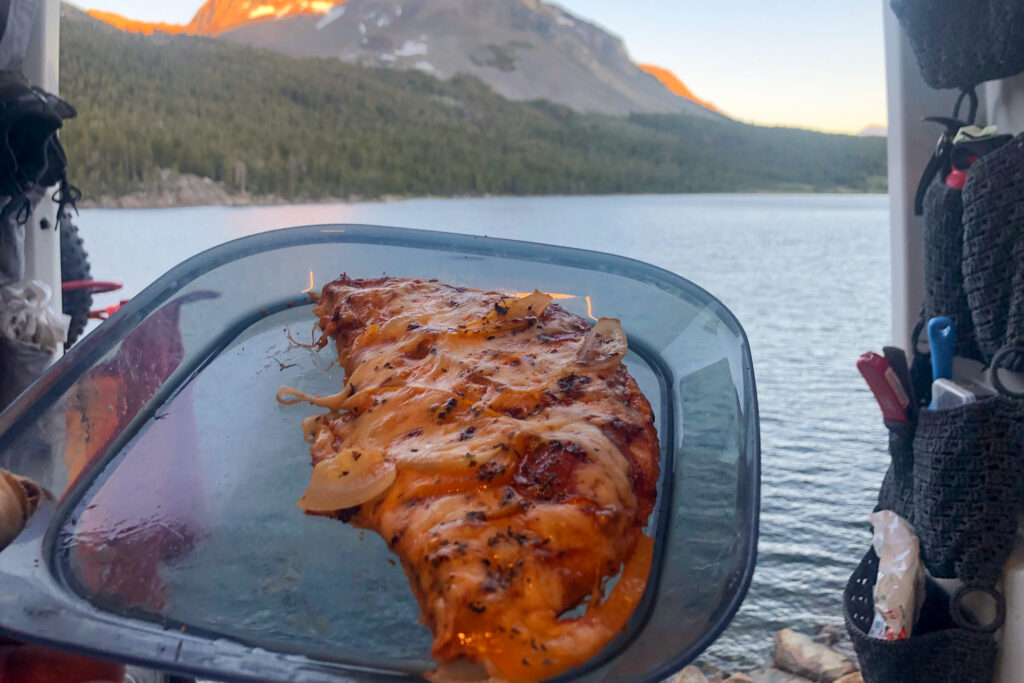
The biggest asset you could bring to a campsite is the ability to bake. There’s no better feeling than devouring a warm cookie or a cheesy slice of pizza on a cold night in the middle of nowhere.
Most camp stove baking methods out there get it wrong. Following those methods result in food that is burnt on the bottom and undercooked on top. It took a lot of crappy pizzas and ruined cookies before I discovered these methods, but now I can make legitimate baked goods wherever I may be. The best part is, you won’t need to buy anything new. This can be done with cooking equipment you already have.
Necessary Cooking Equipment
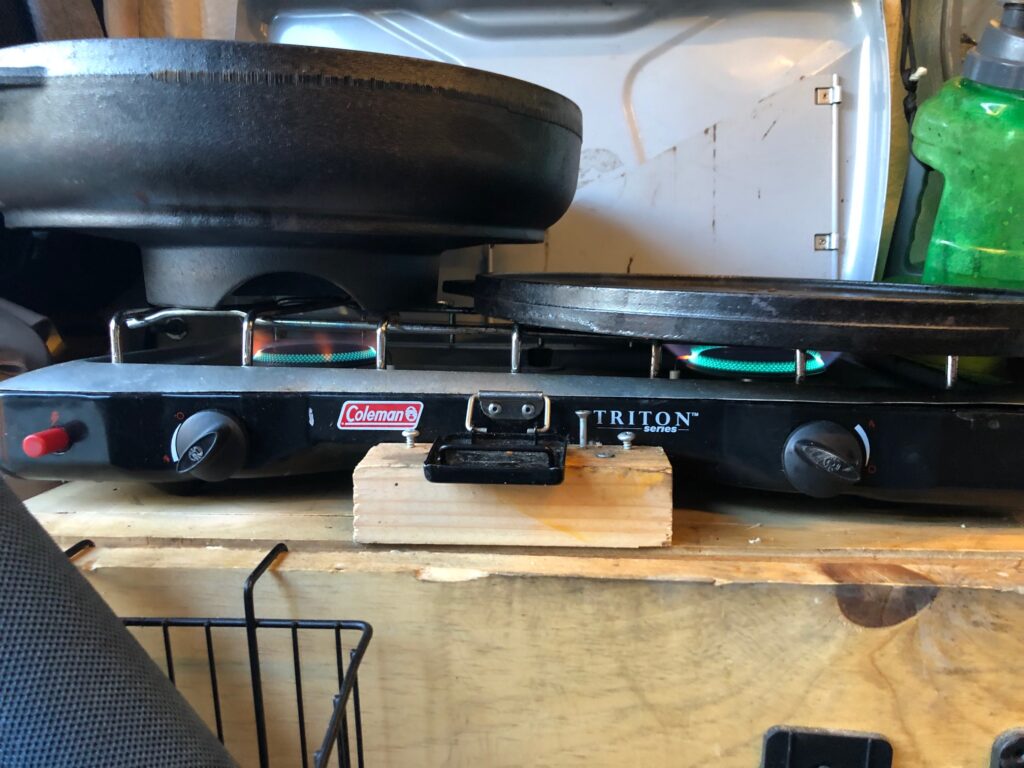
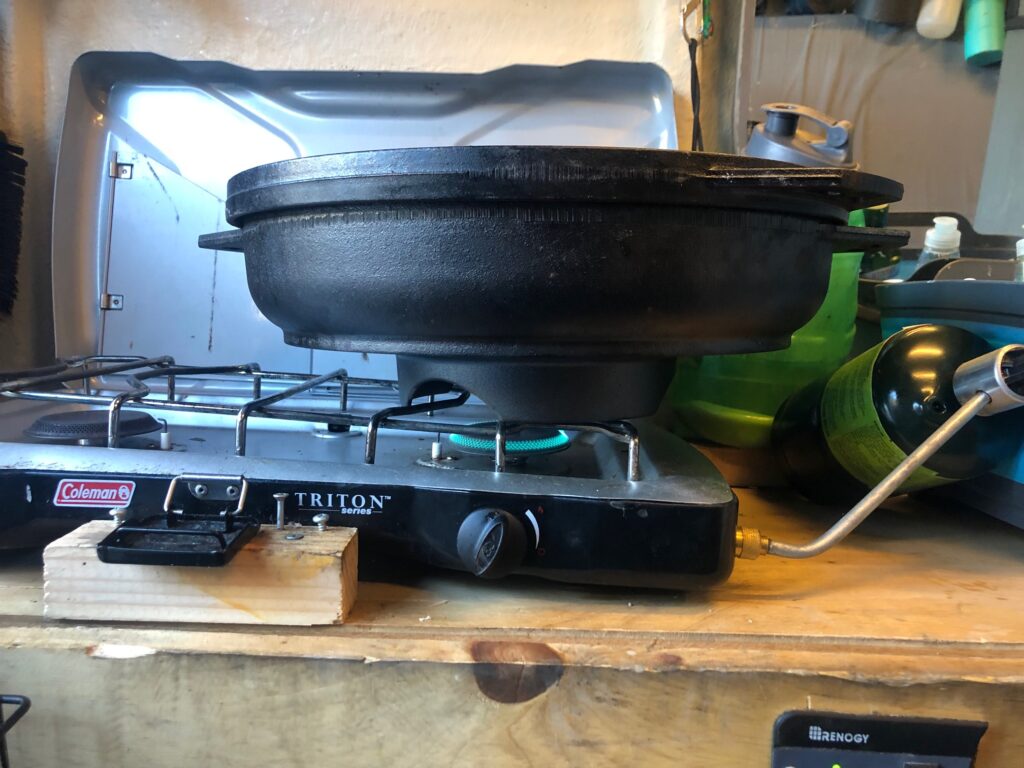
1) Camp Stove
2) A metal cooking container with some sort of lid. You’ll get better results using heat-retentive metals like cast iron. Some examples are below.
- Best option: A Dutch Oven with its in-built lid.
- A pan or skillet, using either an in-built lid or another cooking container as the lid. You can put a pan on top of a skillet to function as a lid, or any other object with a metal surface large enough to cover your cooking container completely.
- A pot or wok with an in-built lid, or any piece of metal or cooking container functioning as a lid.
- If you don’t have something that can be used as a lid, you can use aluminum foil. Wrap the top of the cooking container with foil, making sure it’s completely covered.
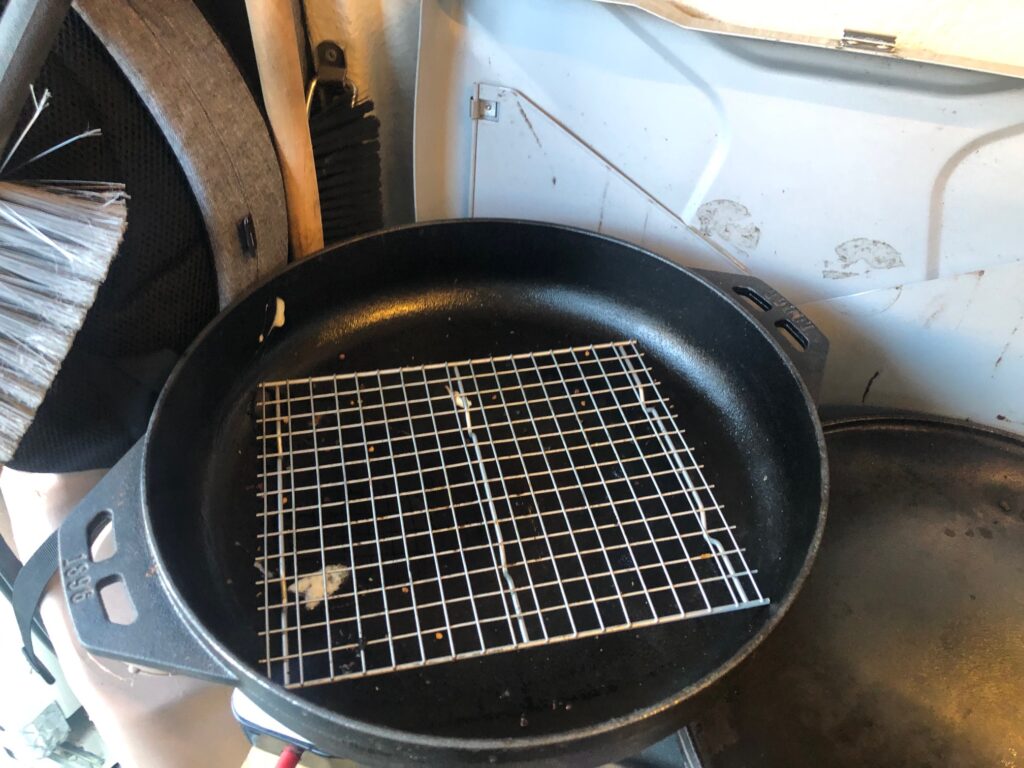
3) Something to elevate the food above the cooking surface. This is the secret ingredient to baking evenly. It will create air flow and empty space underneath, which allows food to bake properly. Some examples are below.
- Best option: A wire mesh oven cooling rack. If the dimensions don’t fit your cooking container, you can use wire cutters to cut it down. When baking cookies or other “gooey” foods, put a layer of aluminum foil on top of the rack to prevent dough from dripping.
- A baking tray, which needs to be elevated above the cooking surface somehow. Any non-flammable material can be used to elevate it, such as pieces of metal, pebbles, stones, or folded metal wire. This can also be cut down with wire cutters if it doesn’t fit your cooking container.
- Crumpled and corrugated aluminum foil. Take a large length of foil, fold it over a few times, and then lightly crumple it so that the surface is corrugated and uneven. This will elevate what you’re baking and allow the food to cook evenly.
- Pebbles and stones from outside. Put a small layer underneath whatever you’re baking. This won’t work well for gooey goods like cookies, but it’ll do fine for pizza, bread, scones and similar foods.
- A smaller container that completely fits in your baking container. It could be a small cake pan inside a dutch oven, for example. If the bottom of that surface is flat metal, try to elevate it with something so it heats up evenly. This is described in bullet point #2.
Baking Instructions
The instructions below follow along as I bake a pizza, but the same process applies to any other baked good. I’ve successfully baked cookies, scones, Pillsbury mixes, bread, meats, and more.
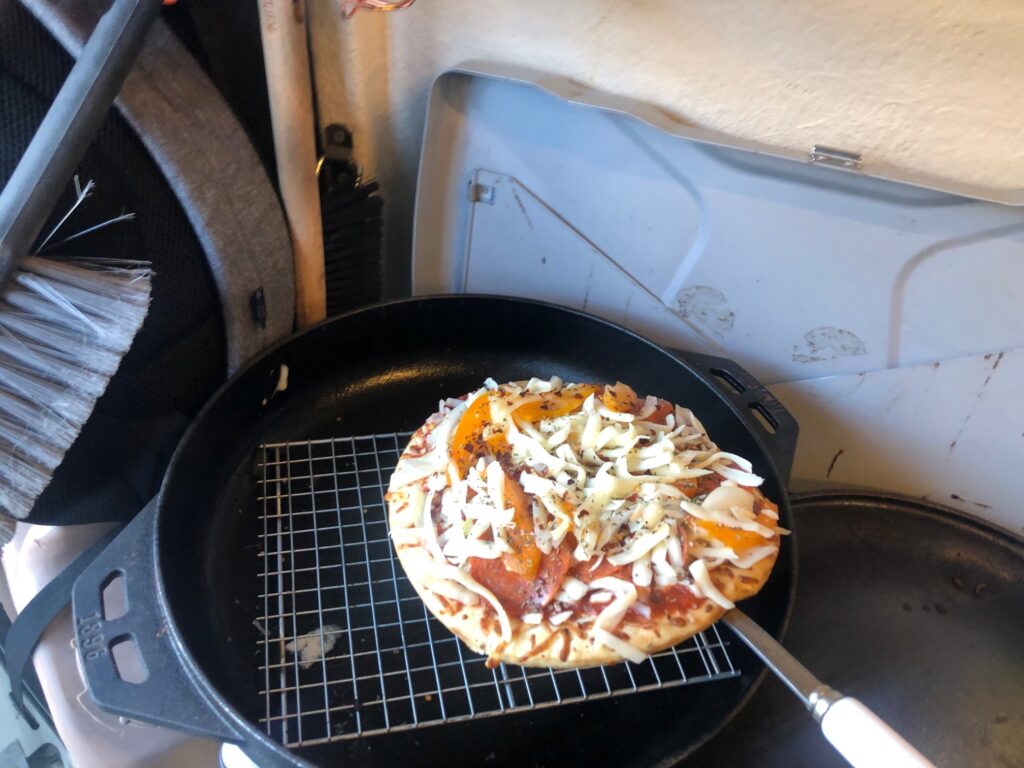
1) Prepare what you’re baking and set it aside. For my pizza, I took the pizza crust and lathered olive oil on it. Then, I spread tomato sauce, mozzarella cheese, and my desired toppings onto it.
2) Preheat your cooking container. If your lid is made of robust metal, preheat that as well. For my cast-iron dutch oven, I heated it with my stove on max for 10 minutes because it retains heat well. For thinner cooking containers, you can preheat it for less time or use less flame.
3) After preheating, put what you’re using to elevate the food in the baking container. Then, put the item you’re baking on top.
4) Cover the baking container with your lid and place it on top of the burner. Set the flame, and let it cook.
How much flame to use: You need to achieve a balance between cooking the food quickly, and making sure the heat is even. Too high of a flame will bring too much heat to the bottom. Thicker metals like cast iron will disperse the heat better, while thinner metals will dissipate it quickly. This means that with thicker metals, you can use a greater flame and cook for less time. With thinner metals, you should use a smaller flame and cook for more time. The more the food is elevated, the less this “bottom-heat” effect will be. When in doubt, use a smaller flame and cook for more time. For my cast-iron dutch oven, I used medium heat to get the best bake possible.
5) Check the food periodically. There are no set cooking times. The temperature is lower than in an oven, and the cooking equipment is different. It’s trial, error, and frequent checking. For my pizza, it took 15 minutes to bake with the stove on medium. For cookies, it takes me 15 – 20 minutes. It seems to be double the home oven time. For something I haven’t baked before, I check every 5 minutes beginning 10 minutes in.
6) When the food is ready, dig in and enjoy!